For ticket holders
Buy, receive, and use your ticket
Buying a ticket
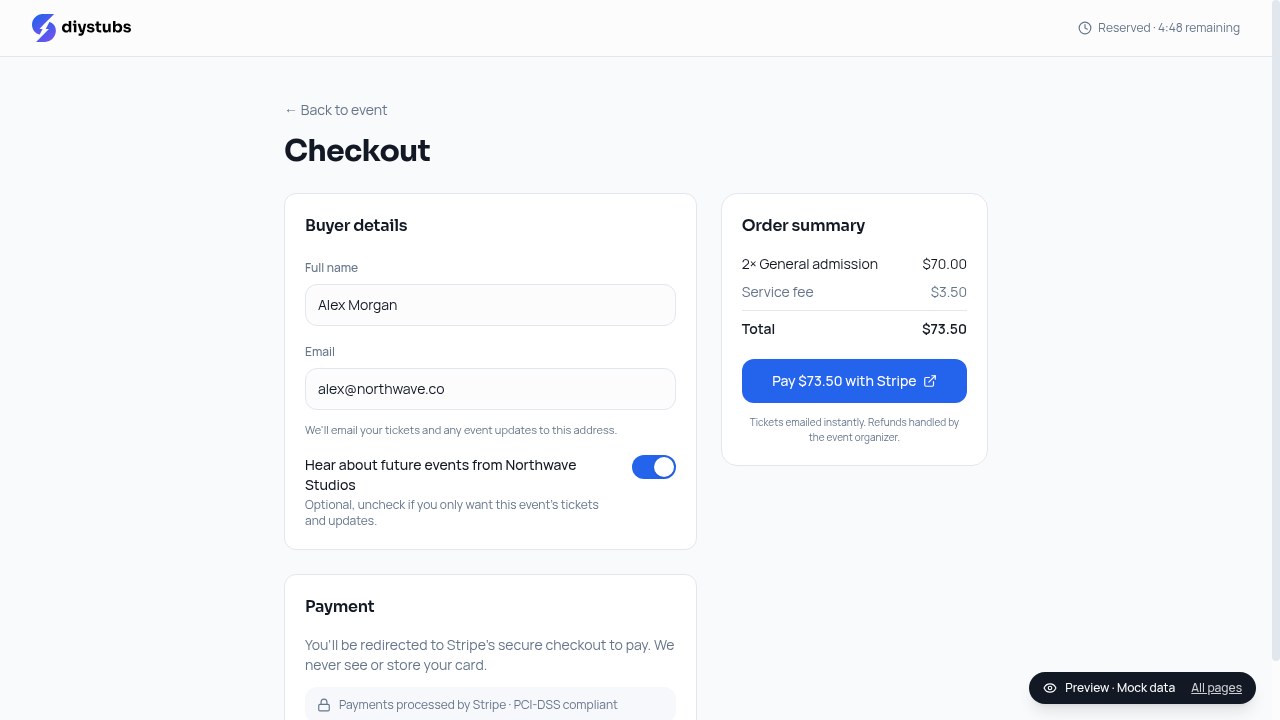
Open the organizer's event link (it looks like diystubs.com/e/...), pick your tier and quantity, and hit Continue to checkout. You'll be taken to Stripe's secure payment page to pay with Apple Pay, Google Pay, or any major card. Every fee is its own line at checkout: the ticket price, Stripe's card processing fee, a 3% platform fee only if the organizer chose to pass it on, and tax where it applies.
Your ticket email
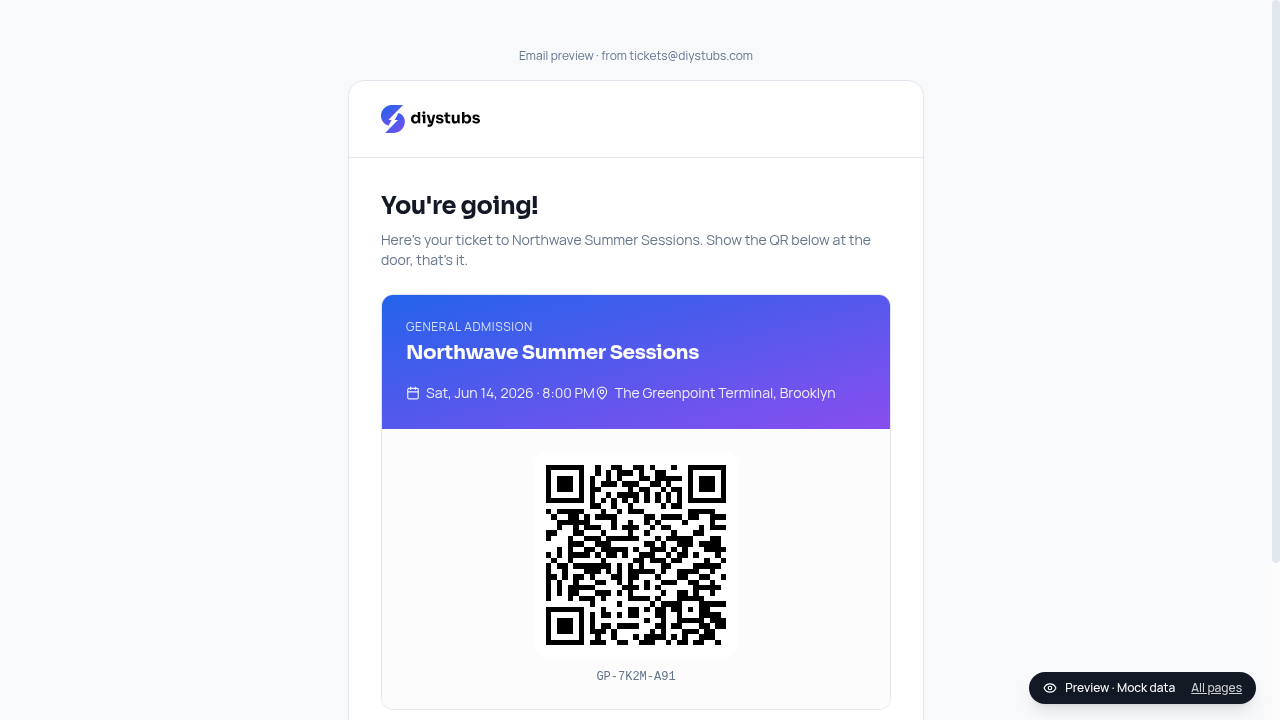
Within seconds of paying, you'll get an email from tickets@diystubs.com with one QR code per ticket purchased. Each QR is single-use and shows your name and tier. Save the email or screenshot the QR; on iPhone you can also tap Add to Apple Wallet under each code. Keep your QR private: it works for whoever scans in first.
Your DIY Stubs account (optional)
You don't have to make an account to buy a ticket, but you can. At checkout there's an optional "Create an account" step. If you skip it now and sign up later with the same email, every past ticket you've bought from any DIY Stubs event automatically shows up in your dashboard.
Logged in, you get a My tickets page with every upcoming and past event, your QR codes in one place, and your notifications inbox. If you also run events, a top-nav switcher flips you between the Attendee and Organizer dashboards, same account.
A free DIY Stubs app for iPhone is coming to the App Store. Once it's out, sign in with the email you bought with and your tickets show up with their QR codes, ready for the door. Buying still happens on the event page checkout, and you never need the app to get in: the emailed QR works on its own.
Reaching out to the organizer
Every event page lists the organizer's contact info (email and optional social links) so you can ask about doors, accessibility, the lineup, or anything else. Their email is also in your ticket confirmation and any update emails from us.
Notifications
Logged-in attendees get a bell icon in the top nav with real-time alerts: ticket purchased, event updated by the organizer, event cancelled, and a reminder roughly 24 hours before doors.
Click the bell and you can opt into browser notifications so the alerts also pop up on your device while DIY Stubs is open in a tab. Turn it off anytime in your browser's site settings.
At the door
Pull up the QR from your email (or Apple Wallet, or a screenshot) and hold it up to the door staff's phone. A green check means you're in.
Each QR can only be checked in once. If someone else used your code first, the scanner shows it as already used, along with the name on the ticket. Talk to the door staff or the organizer.
Refunds and support
Refunds are set by the organizer. For everything except a full event cancellation, the organizer decides and pays you back directly (Venmo, Zelle, bank transfer, etc.). Their contact info is on the event page. We can help with payment or delivery issues at support@diystubs.com.
If an event is cancelled
When an organizer cancels their event, you'll get an email from us with one of two outcomes:
Automatic refund. If your payment was still in our balance, we refund it directly to the card you used at checkout. No action needed. It usually shows up in 5 to 10 business days depending on your bank.
Contact the organizer. If your payment was already paid out to the organizer's bank before the cancellation, we can't refund it on their behalf. Your cancellation email includes the organizer's contact info. Reach out to them directly to arrange the refund.
Unsubscribing from organizer emails
Every email from an organizer has a one-click Unsubscribe link in the footer, no login, no confirmation. You can also manage preferences at diystubs.com/unsubscribe. Unsubscribing only affects promotional blasts; you'll still get your ticket and critical event-change notices.
Already bought? View your tickets.